How do I Create a User-Defined Field?

You may need to capture other information regarding your assets within Certero. The User-defined fields allows you to store and present this information alongside assisting inventory data.
For example, you may need to view information on financial data, such as, purchase order numbers and dates, warranty expiry dates, physical locations and asset ownership.
Follow the step-by-step instructions below on how to create user-defined fields:
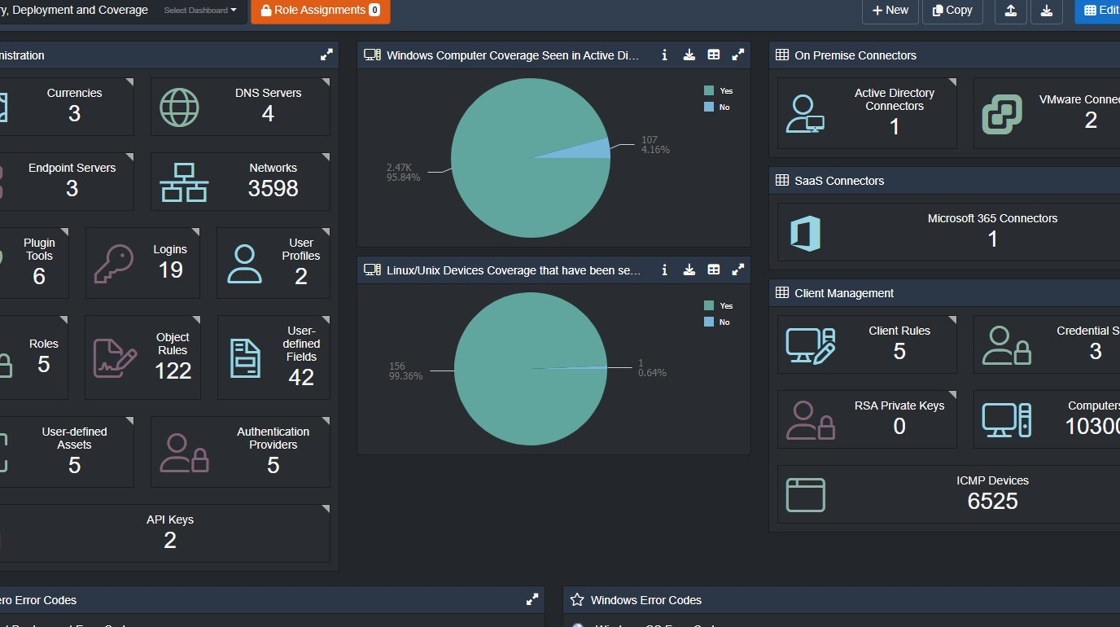
1. Navigate to your Certero Platform
2. Click the burger icon:

3. Click "Administration"

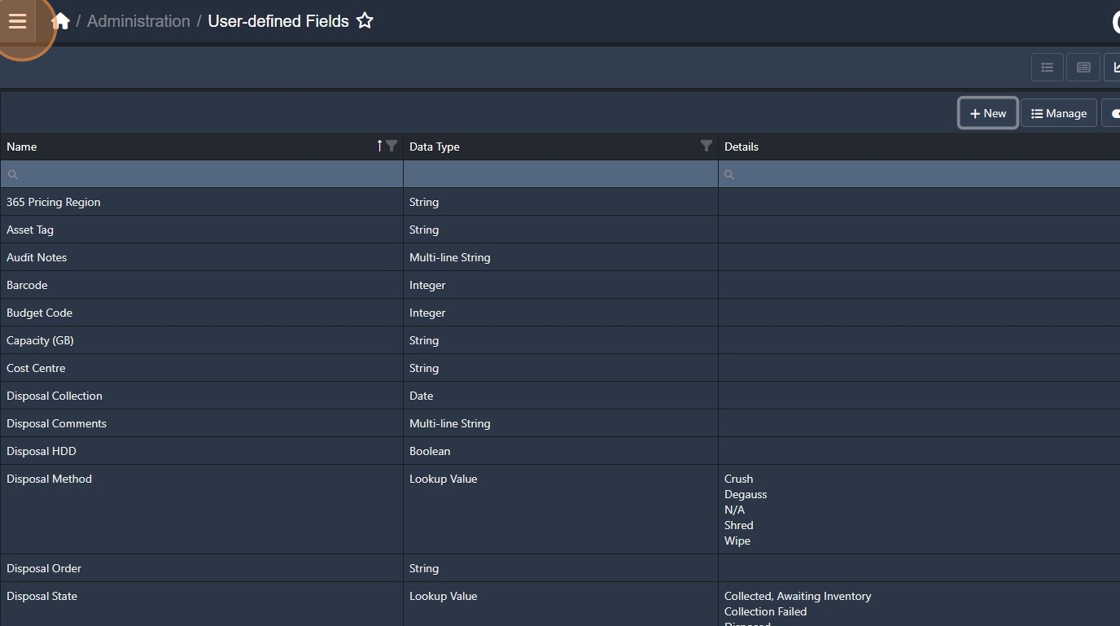
4. Click "User-defined Fields"

5. Click "New"

6. Type in the details of the field you would like to create.
7. Select a data type.

8. Add some values to your selected data type where applicable.

9. Type "Entry 1"
10. Click this button. Repeat until all required options are done.

11. Click + to add your value.

12. Click "Save"

13. Repeat the field creation process until you have all the required User-Defined Fields available.
14. Next, we are going to add your created User-Defined Fields to your inventoried system grid views.
Click the burger icon.
15. Click "Computer Systems"

16. Click "Microsoft Windows" (or the grid view you require)
User-Defined Fields cannot be added at the 'All Systems' level

17. Click "User-Defined Fields".

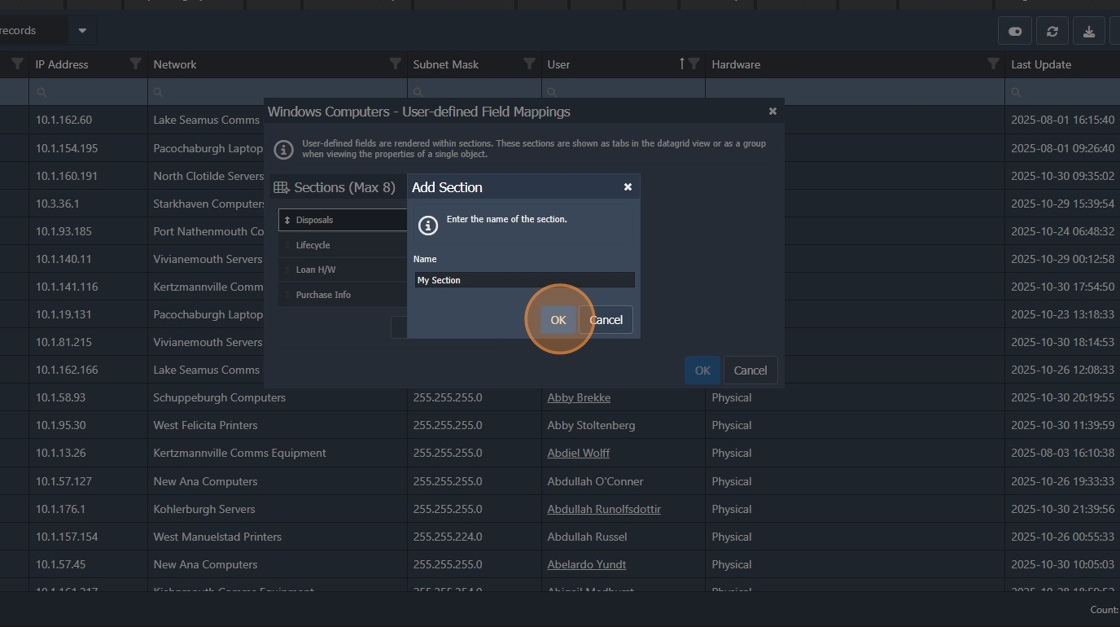
18. Click "Add Section"

19. Type a name for your Section.

20. Click "OK"
21. Click "Add Field"

22. Select your created User-Defined Field.

23. Click "OK"

24. Click "OK"

25. Click > to expose User-Defined Sections.

26. Click your User-Defined Section to access the data fields.
